Quick answer
How far apart should control joints be in concrete?
A common rule of thumb is two to three times the slab thickness in inches, expressed in feet: about 8–12 feet apart for a 4-inch slab and 10–15 feet for a 5-inch slab. Panels should be roughly square — no more than about one and a half times as long as they are wide. Joints should be cut to about a quarter of the slab depth, within hours of finishing for saw cuts, before the concrete starts cracking on its own.
- 4" slab spacing
- 8–12 ft
- 5" slab spacing
- 10–15 ft
- Joint depth
- 1/4 of slab thickness
- Panel shape
- Square, ≤1.5:1
Why concrete needs joints at all
Concrete shrinks as it cures and dries — a small amount per foot, but across a 40-foot driveway that adds up to a real movement. The slab is held by friction against the base and by its own weight, so as it shrinks, tension builds inside it. When that tension exceeds what the young concrete can carry, it cracks.
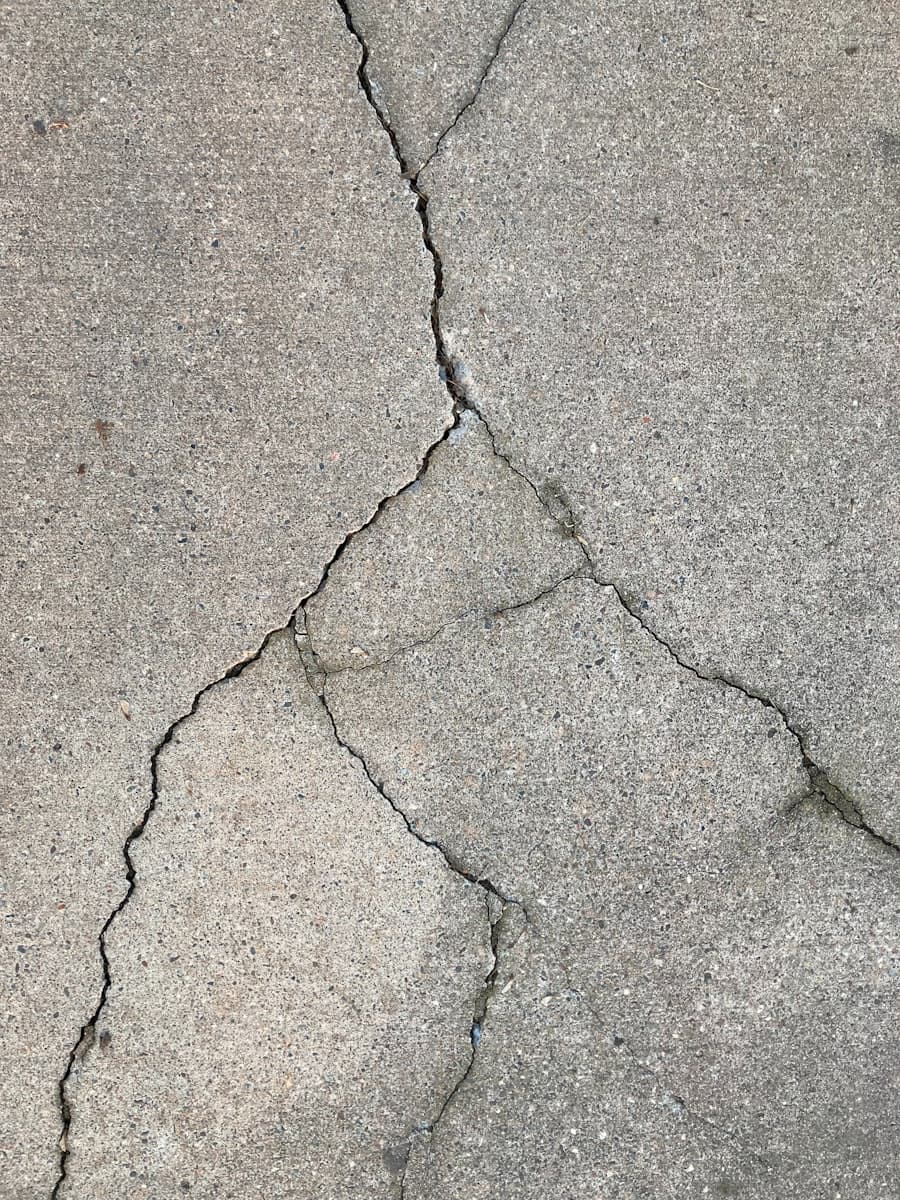
You can't stop that cracking. You can decide where it happens. A control joint is a deliberate weak line — a groove cut or tooled into the slab — so that when the slab cracks, it cracks at the bottom of the groove, in a straight line, where you planned it. The crack is hidden in the joint instead of wandering across the middle of a panel.
When people say their concrete 'cracked even though it had joints,' the joints were usually too far apart, too shallow, or cut too late. Each of those lets the slab find its own crack line before the joint can do its job.
A planned joint layout
Joint spacing by slab thickness
| Slab thickness | Typical max spacing | Example use |
|---|---|---|
| 4 inches | 8–12 feet | Patios, walkways |
| 5 inches | 10–15 feet | Driveways |
| 6 inches | 12–18 feet | Heavy driveways, RV pads |
Hot weather, high-shrinkage mixes, and long narrow slabs call for the tighter end of the range. Engineered and commercial slabs follow the design drawings.
Depth and timing
A joint has to be deep enough to create a real weak plane. The standard is about one quarter of the slab thickness — an inch for a four-inch slab, an inch and a quarter for five. A shallow decorative scratch won't control anything.
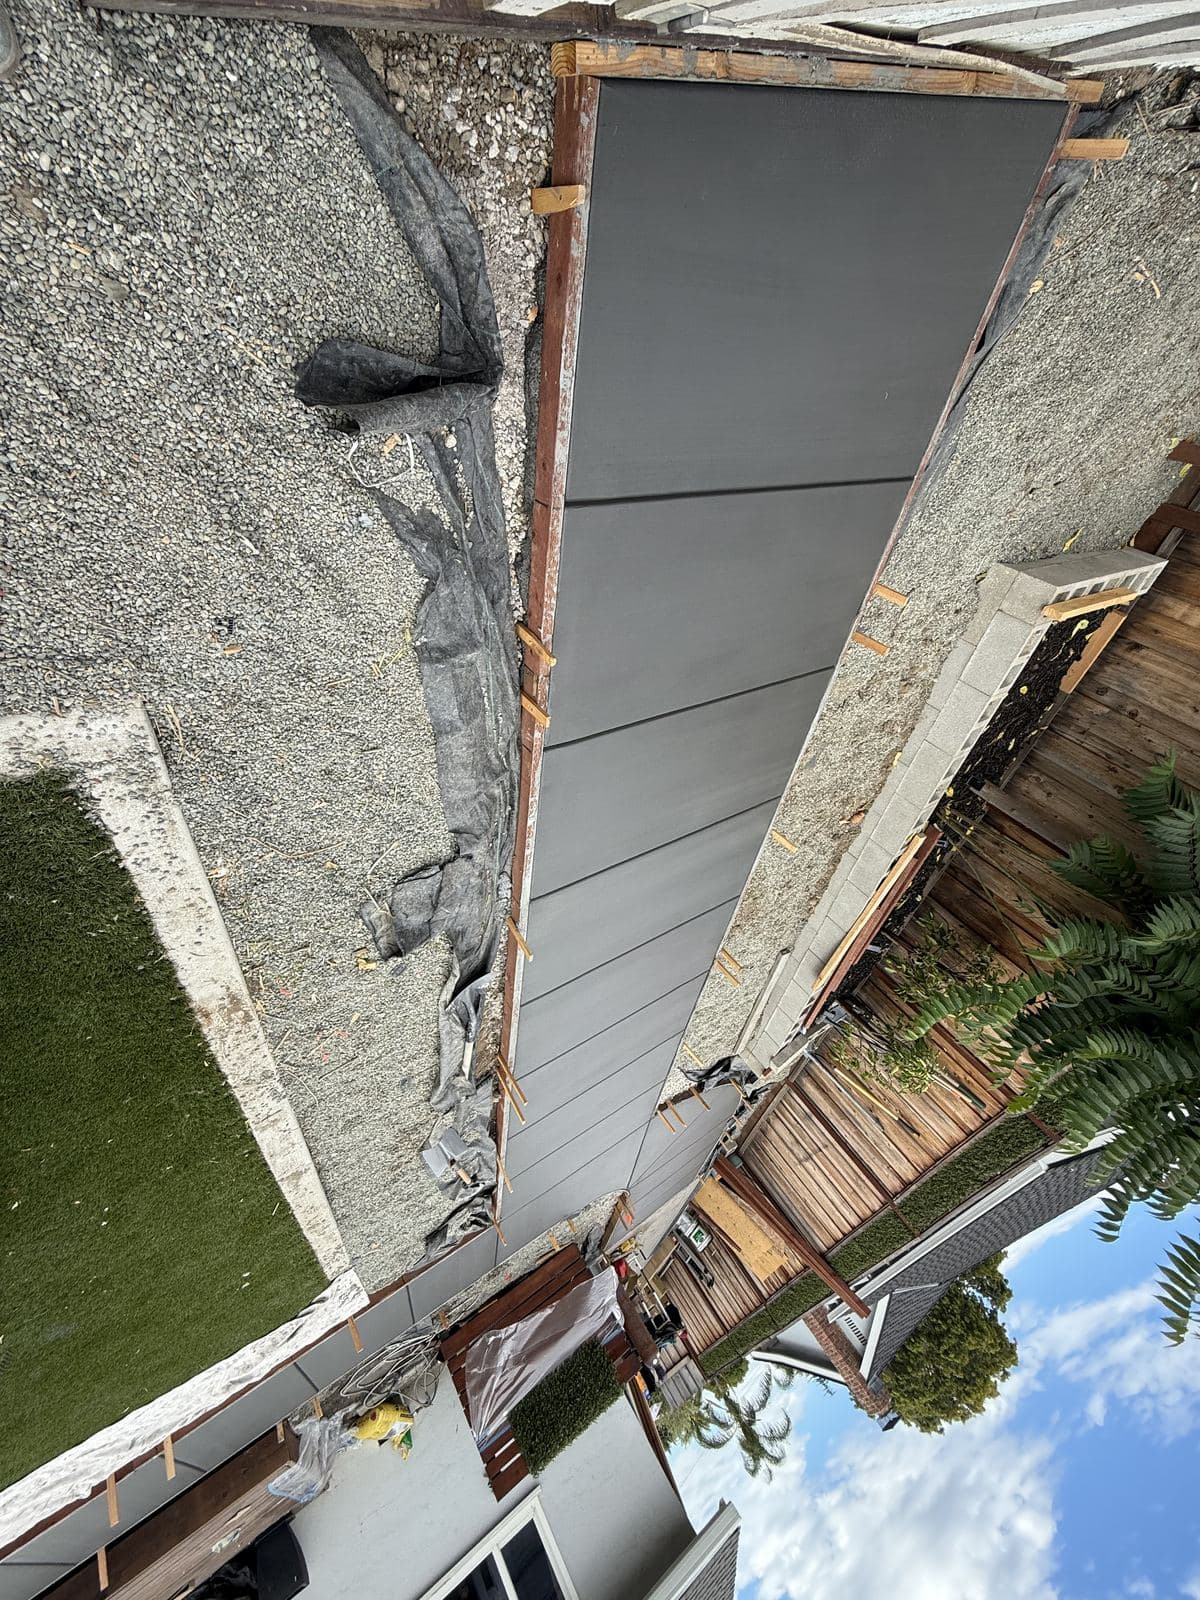
Timing is the part that's easiest to get wrong. Tooled joints are formed in the fresh concrete during finishing. Saw-cut joints are cut once the surface is hard enough that the blade doesn't ravel the edges — often within a few hours of finishing, and generally the same day. Early-entry saws are designed to cut very soon after finishing for exactly this reason.
If the cut waits until the next morning, especially after a warm night, the slab may have already cracked on its own somewhere else. The joint then sits next to a random crack and does nothing. On hot Bay Area days in places like San Jose, Gilroy, and Livermore, that window closes faster than people expect.
Tooled vs. saw-cut joints
Joint types
- Control (contraction) joint
- A groove cut or tooled into a slab so shrinkage cracks form along it.
- Isolation (expansion) joint
- A full-depth separation with filler where the slab meets a wall, foundation, column, or existing slab, so they can move independently.
- Construction joint
- Where one day's pour stops and the next begins, often with dowels to transfer load.
- Early-entry saw
- A lightweight saw designed to cut joints within hours of finishing.
Joint layout rules contractors follow
- Keep panels close to square — no more than about 1.5:1
- Put a joint at every inside (re-entrant) corner
- Joint where the slab changes width
- Line up joints with existing slab joints where they meet
- Use isolation joints against the house, walls, and posts
- Cut to one quarter of the slab depth
- Cut the same day, before random cracking starts
- Seal joints in driveways so water and grit stay out
Maintaining joints
Joints on driveways and patios work best when they're kept clean and, on driveways, sealed with a flexible joint sealant. A joint packed with grit and weeds can't open and close, and water running down an open joint softens the base underneath.
Check joints once a year. Pull weeds, clear debris, and re-caulk joints whose sealant has cracked or pulled away. It's one of the cheapest things you can do to keep a slab level for decades.
Laying out joints on a real driveway
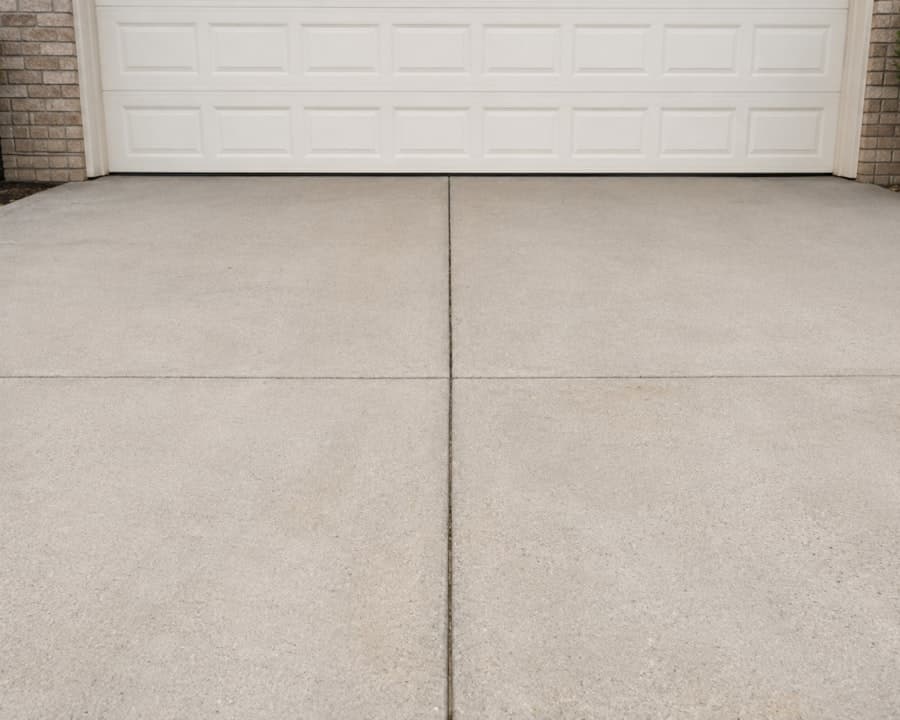
Consider a typical two-car driveway about 20 feet wide and 30 feet long, poured five inches thick. With a maximum spacing around 10–15 feet, the slab is divided down the middle lengthwise into two 10-foot strips, then crosswise every 10 feet. The result is six panels, each 10 by 10 — square, well within the spacing limit, and lined up so cracks will follow straight lines.
Where the driveway meets the garage slab, an isolation joint separates them so the two can move independently. Where it meets the public sidewalk or apron, joints line up with the existing joints in the sidewalk so a crack in one doesn't propagate into the other.
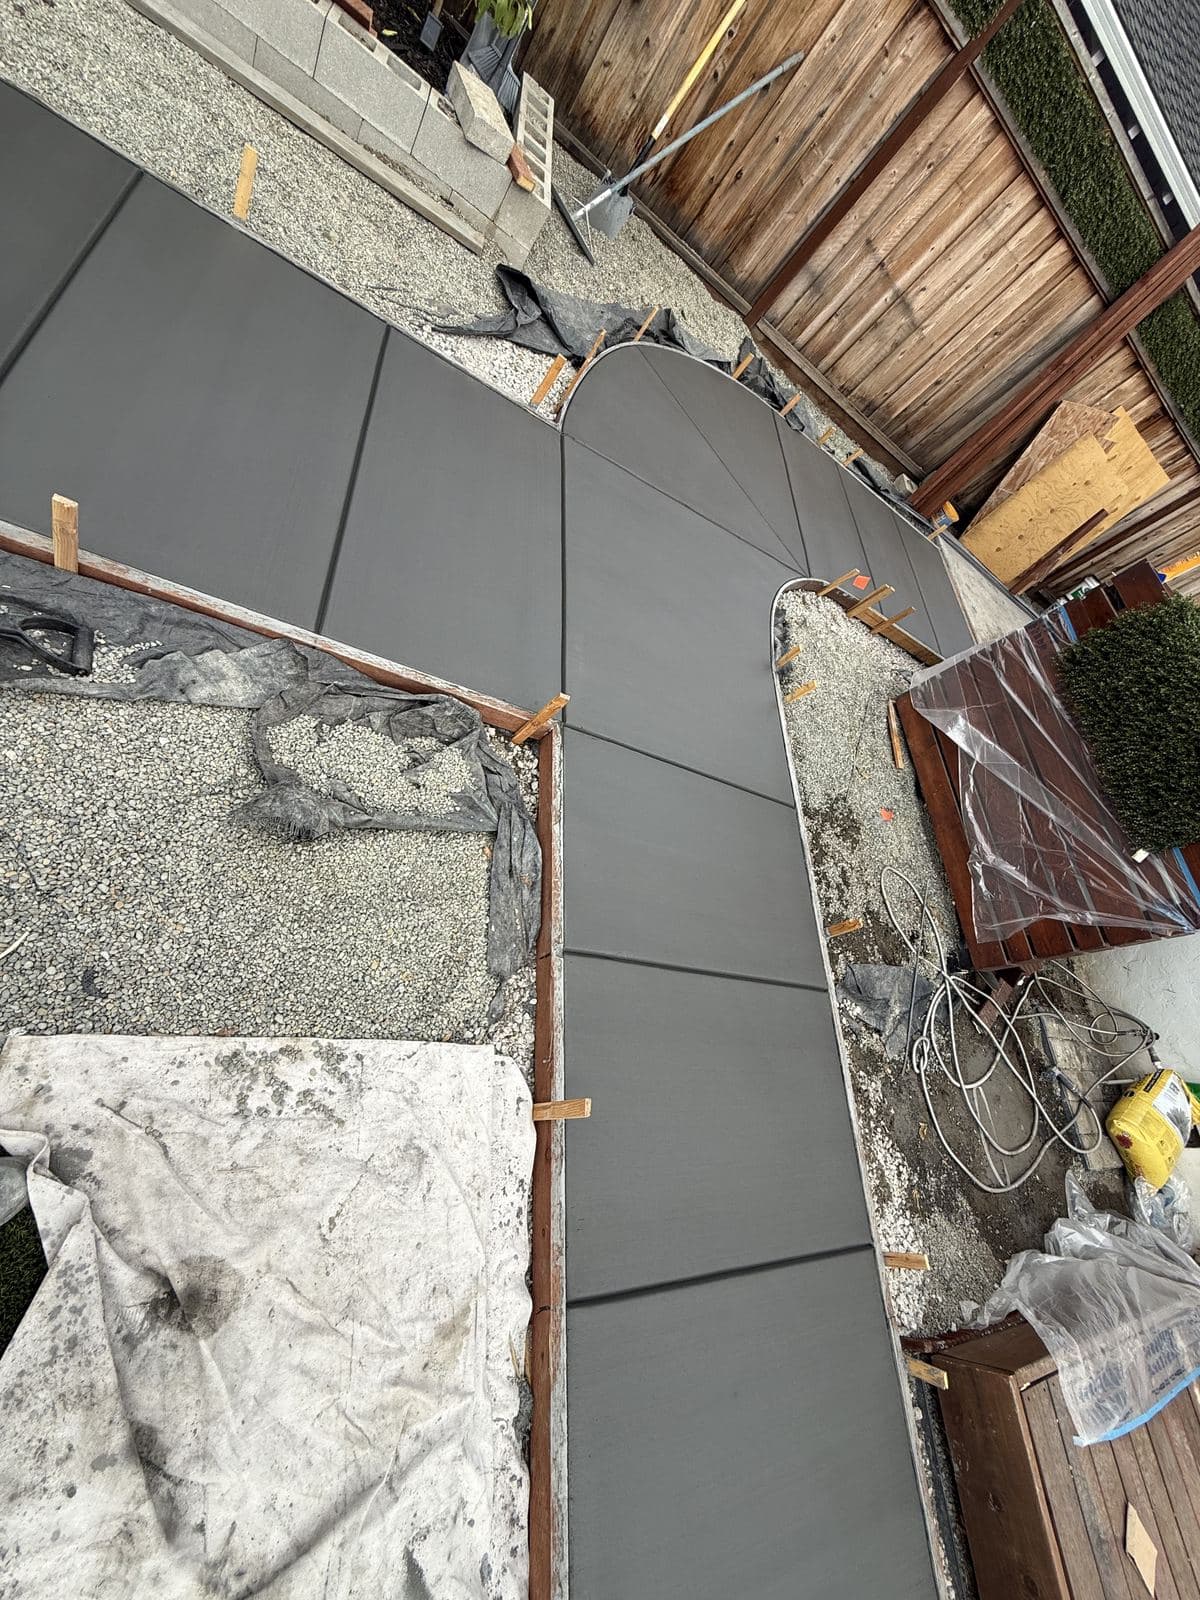
Any inside corner — where a walkway branches off, or the driveway widens near the garage — gets a joint running from the corner. Inside corners concentrate stress, and an uncontrolled crack almost always starts from one.
Joints on a curved walkway
Common joint mistakes and their results
| Mistake | What happens |
|---|---|
| Joints too far apart | Random cracks across the middle of panels |
| Long, narrow panels | Cracks across the narrow dimension |
| Too shallow | Slab cracks beside the joint instead of in it |
| Cut too late | Slab already cracked; joint does nothing |
| No joint at inside corners | Diagonal crack from the corner |
| No isolation joint at the house | Slab binds against the foundation and cracks |
| Joints not aligned with adjacent slabs | Cracks propagate across the boundary |
Weather, timing, and the Bay Area
The window for cutting joints depends on how quickly the concrete gains strength, and that depends heavily on temperature. On a cool foggy morning in Pacifica or Half Moon Bay, the surface may take longer to be ready for the saw. On a hot afternoon in San Jose, Livermore, or Gilroy, it can be ready within a couple of hours — and start cracking on its own not long after.
Wind and low humidity speed up surface drying and add to early shrinkage stress. On those days crews plan the pour earlier, keep the surface moist, and have the saw ready on site rather than coming back later.
This is one of the reasons experienced crews cut joints the same day as a rule, rather than leaving it for a convenient time.
Joints in decorative concrete
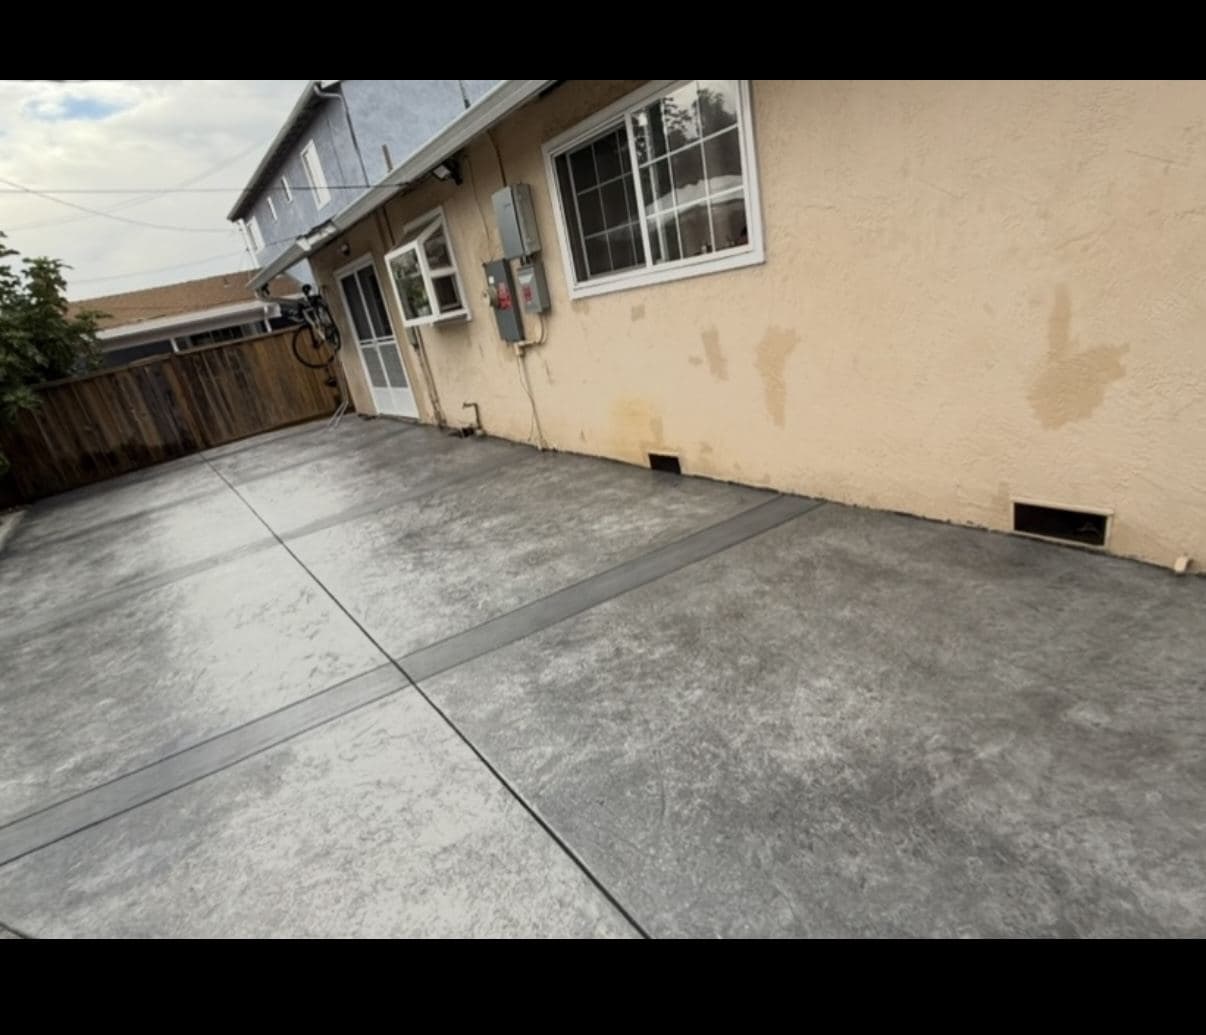
On stamped concrete, joints are planned so they fall along grout lines in the pattern, where they disappear into the design. With exposed aggregate, saw cuts are made after washing, and the clean lines become part of the look. With colored concrete, a carefully planned joint grid can be a design feature in itself.
Some homeowners ask to skip joints on decorative work to avoid seeing lines. That always backfires — the slab still cracks, just somewhere random and far more visible than a planned joint.
How to maintain driveway joints
Clear them yearly
Remove weeds, grit, and debris with a stiff brush or a joint tool.
Inspect the sealant
Look for sealant that has cracked, hardened, or pulled away from the edges.
Reseal as needed
Clean and dry the joint, add backer rod in wide joints, then apply a flexible sealant.
Watch the edges
Chipped joint edges let water in faster; patch them before they spread.
Isolation joints: where slabs meet other structures
Control joints manage cracking within a slab. Isolation joints solve a different problem: a slab poured directly against a house foundation, a wall, a column, or an older slab will try to move as it shrinks and as the ground moves — but the other structure won't move with it. The result is cracking at the contact point or stress transferred into the structure.
An isolation joint is a full-depth separation, typically formed with a compressible filler strip placed before the pour. It lets the new slab move independently. Isolation joints belong where a patio meets the house, where a driveway meets the garage slab, around posts and columns set in the slab, and where new concrete meets old.
Where a slab needs to stay level with an adjoining slab — at a garage threshold, for instance — dowels can be drilled into the existing slab to transfer load across the joint while still allowing horizontal movement.
Cracks follow the path of least resistance
Joint sealing materials
Driveway and patio joints are typically sealed with a self-leveling or gun-grade polyurethane sealant, chosen because it stays flexible as the joint opens and closes with temperature and moisture. In wider joints, a foam backer rod is pressed in first so the sealant forms the right shape and doesn't fill the whole depth.
Rigid fillers belong in specific places — industrial floors where hard forklift wheels need the joint edges supported — not in exterior residential joints, where they crack out as the slab moves. Whatever the material, the joint has to be clean and dry for the sealant to bond.
Joint quick reference
| Question | Answer |
|---|---|
| Spacing for a 4" slab | About 8–12 ft |
| Spacing for a 5" slab | About 10–15 ft |
| Depth | About 1/4 of slab thickness |
| Timing | Same day, before random cracking |
| Panel proportion | As close to square as possible |
| At inside corners | Always a joint |
| Against the house | Isolation joint |
Repairing a slab whose joints didn't work
If a slab has already cracked between its joints, the question is whether those cracks are stable. Fine, level shrinkage cracks can be cleaned and sealed with a flexible sealant to keep water out of the base; they're cosmetic and usually stop growing once the slab finishes drying.
Sawing new joints into an older slab can help where panels are oversized and still developing cracks, but it won't relieve stress that has already been released by cracking. Cracks that widen, step, or keep reopening point to base movement and need repair or replacement of the affected panels.
On decorative concrete, random cracks can sometimes be disguised by cutting a matching decorative joint along them, turning a flaw into part of the pattern.
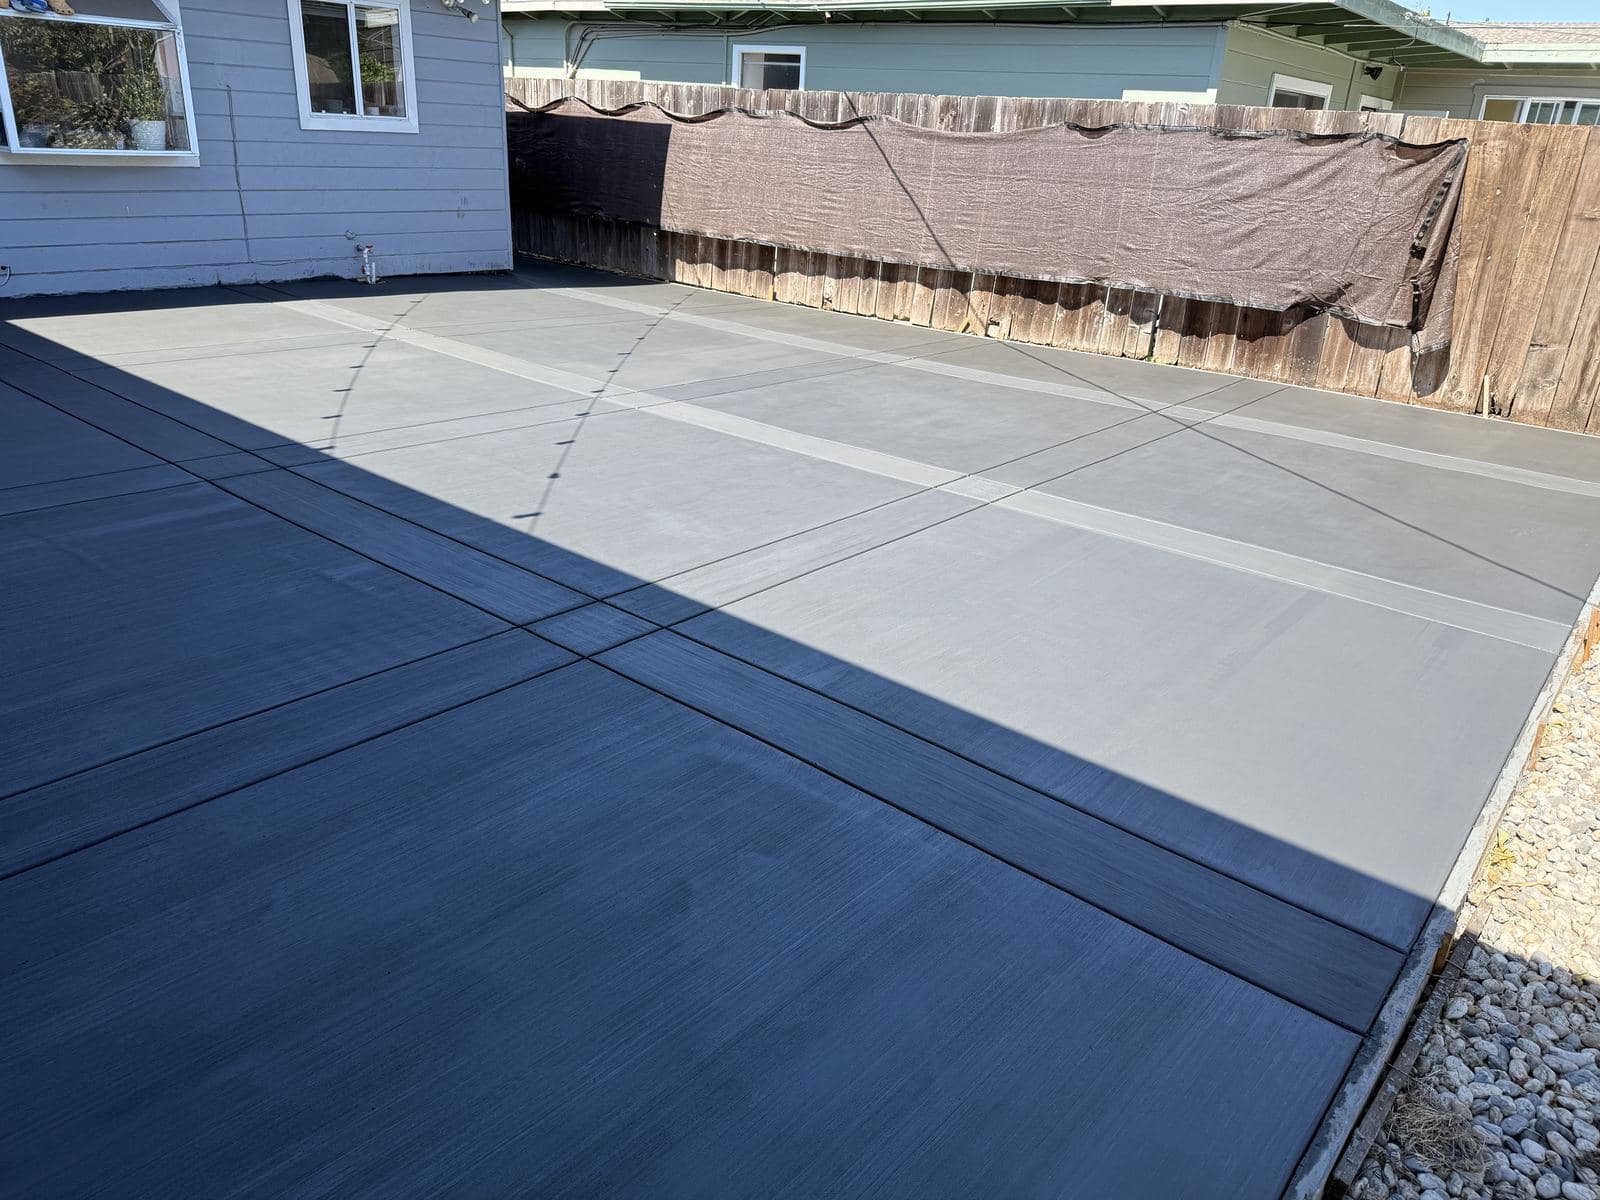
A well-jointed patio
Key points on control joints
- Joints decide where concrete cracks; they don't prevent cracking.
- Space joints about 2–3 times the slab thickness, in feet.
- Cut to a quarter of the slab depth, the same day as the pour.
- Keep panels close to square and joint every inside corner.
- Use isolation joints where slabs meet the house, walls, and posts.
Joints in patios with steps, posts, and planters
Patios often include features that change how a slab moves: steps down to a lawn, pergola posts set in the slab, built-in planters, and fire features. Each one is a point where stress concentrates, and each needs a joint plan.
Steps are usually poured separately or isolated from the main slab so they can move independently. Posts and columns set into the slab get isolation joints around them — often a boxed-out square or a round collar of filler — with control joints running from the corners of the box out to the slab's grid. Planters and other cut-outs create inside corners, which need a joint running from each corner.
Planning these joints before the pour, rather than improvising on the day, is what keeps a feature-rich patio from cracking around every element.
What homeowners can check after the pour
Within the first day, you can check that joints were cut, that they look deep enough to be meaningful, and that panels are close to square. Within the first weeks, any cracks that appear should mostly be inside the joints. A crack running across a panel away from any joint, especially from an inside corner, is worth photographing and raising with the contractor while the warranty is active.
Joints and slab thickness work together
Thicker slabs can have joints spaced farther apart because they're stiffer and resist the curling and cracking forces of shrinkage better. Thinner slabs need closer joints. That's why the spacing rule is tied to thickness, and why a four-inch patio and a six-inch RV pad have different joint grids even when they sit side by side.
Mix design plays a role too. Concrete with more water shrinks more and benefits from tighter joint spacing. Lower water content, good aggregate gradation, and proper curing all reduce shrinkage and give joints an easier job.
Control joint questions
Related
Standards & references
The published standards and code sections this guide draws on. Requirements vary by jurisdiction — your local building department has the final word.
- ACI 302.1R-15: Guide to Concrete Floor and Slab Construction — American Concrete Institute
- ACI 224R-01: Control of Cracking in Concrete Structures — American Concrete Institute
- ACI 360R-10: Guide to Design of Slabs-on-Ground — American Concrete Institute
Still deciding?
Ask us about your specific project
We'll give you a straight answer on the phone, including when that means telling you that you don't need the work you asked about. Free written estimates across San Jose & the greater Bay Area.